Let’s get over the idea that a big projection screen installation is some kind of a Cadillac extra accessory for commercial facilities. It’s a necessity now.
Remember the good old days when a 150 lb. 32-inch CRT balanced on top of a 50 lb. rolling media cart pushed by a nerve-wracked student went teetering precariously from classroom to classroom at your school? Those days of those top-heavy rolling death-hammers are done. There's a new solution.
- Many business owners and technology managers may have shunned a large-projection system concept for obstacles such as the perceived extra cost, extra maintenance, and the lack of space. In the past few years, however, the costs of having a decent projector with a high-grade, business-class screen have dropped into the same price range as that of a flat-panel TV. The big differences, however, are that the flat-panel TV’s image is fixed/finite, and when it comes to the inevitable replacement, a projector lamp can be replaced, and even recycled, thanks for services like ReLampIt from Projector Lamp Services. So, what about space?
- In regards to space consciousnesses, every square foot of property has a monthly cost. A visual image capable of reaching every set of eyes in the room is one way to maximize its value. The trick is to get the big picture without dedicating too much space. To conserve space, think of three main points—throw distance, functionality, location, and usage.
1. GET AN ACCURATE THROW DISTANCE
Many standard projectors require a considerable amount of space or throw distance to create a relatively large projected image. Throw-distance is the measured space between the projector’s lens and your projection screen surface. Hence, the longer the throw-distance, the larger the image will be. Visit Digital Projection Inc's Projector Calculator App (digitalprojection.com). Or, Google “projection screen calculator app”. Resources like this can help you establish the ideal throw distance for the projector you have.
2. CONSIDER CEILING-MOUNTED PROJECTION
For professional meeting rooms, resorts, and large halls, try a ceiling-mounted projector. This keeps the projector safely out of the way and your space open. For smaller or DIY meeting rooms, a tabletop projector is a good solution. For the average-sized conference room, use a screen with an 84-to-150-inch diagonal size range. For ballrooms and conference facilities, the size may equal that of a movie theater (200-to-600-inch). Large ballrooms should have a screen positioned so that it is easily visible to either a standing or seated audience. Meeting rooms should have the screen positioned in a way that the people sitting closer to the front of the room will not eclipse the image from those in the back.
3. MAKE IT RETRACTABLE
It is best to use either a retractable “in-ceiling” projection screen or a flush-mounted “fixed” screen. When you don’t need a screen, it hides in the ceiling leaving your wall open to be used in any way you need.
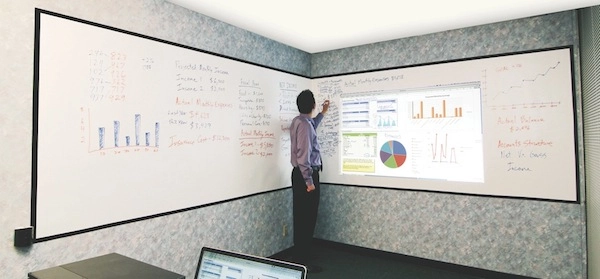
4. GO "FULL WALL"
If you plan on having a designated presentation spot, then I recommend using two relatively new products, the ultra-short throw projector and the whiteboard-projection screen. Ultra short-throw projectors will give you that big-screen punch from a distance of less than two feet. The presenter does not make a shadow on the screen.
